
If you are on Snapchat, you've probably run into a filter whether it be about somewhere you live, a holiday or even a movie premiere. But did you know you could make your own? Snapchat now allows businesses and individuals to create Geofilters around targeted locations. This is an awesome new way to increase brand awareness, promote an event or create buzz around an opening.
So what exactly is a Geofilter?
A Geofilter is a fun overlay that will appear when someone on Snapchat is in your designated location, hence the name Geo. Once someone takes a picture in Snapchat, they can swipe left to overlay their photo with a Geofilter.
Why are Geofilters important to my business?
Many types of businesses will benefit from Snapchat Geofilters. The #1 area I see a business benefit from a Geofilter is during a large event or a grand opening. Unlike other social media platforms, the market for Geofilters isn't saturated yet. For a small investment, you can reach a large audience. All-in-all you're increasing brand awareness and receiving a great ROI.
How to see Geofilters in Snapchat
So you're brand spankin' new to Snapchat. Well, before you start, you must turn on Geofilters. Don't worry, most people who use Snapchat have already done this and will see your filter. To turn on Geofilters, you must go to your Snapchat settings and enable Filters as well as location services.
- Go to Snapchat Settings.
- Tap 'Manage' under Additional Services.
- Toggle 'Filters' on.
The Basics
1. A Geofilter can run a maximum of 30 days. (The minimum duration is 1 hour)
2. It must be made in .PNG format.
3. It needs to be 1080 px wide x 1920 px tall and under 300KB.
4. All graphics must be 100% original.
5. Do not include URL's, handles or email addresses in your filters.
6. Don't let your design take up for than 1/3 of the screen.
7. Plan ahead! Filters must be approved by the Snapchat team and depending on the time, it can take over 48 hours to be approved. If this is your first time submitting, give yourself about a week ahead just in case your filter is rejected and you need to resubmit a new one.
Pricing
Pricing can vary immensely for Snapchat Geofilters. There are many factors including location, size of the area you choose, population density, time of day and more. That being said, Geofilters are very cost effective and start at as little as $5. Whether or not you use Snapchat for your company, a Geofilter is a great way of getting in front of thousands of people in a highly engaging way for a low-cost. One of the most expensive Geofilters I created was for an event around Times Square on a Friday night, it was $68. I'd say that's a pretty great price tag.
How to Upload a Geofilter
1. First step to creating a Geofilter is to have a Snapchat account. If you don't already have one set up for your business, go ahead and create one now. I suggest creating a handle in line with your other social media sites. For example, my handle on Twitter, Instagram and Snapchat is @tiameghan.
2. Here comes the hard part...designing your Geofilter.
If you are not well-versed in design or photoshop you should ask a friend for help.
A few tips to remember:
- A filter should not take up more than 1/3 of the screen.
- Before uploading test your filter on top of different types of photos to ensure it looks great in all different settings.
3. Now that you have your filter designed and ready, go to https://www.snapchat.com/geofilters.
4. Click on On-Demand Geofilters. These are filters for businesses and individual events such as a wedding or birthday.

Write here...
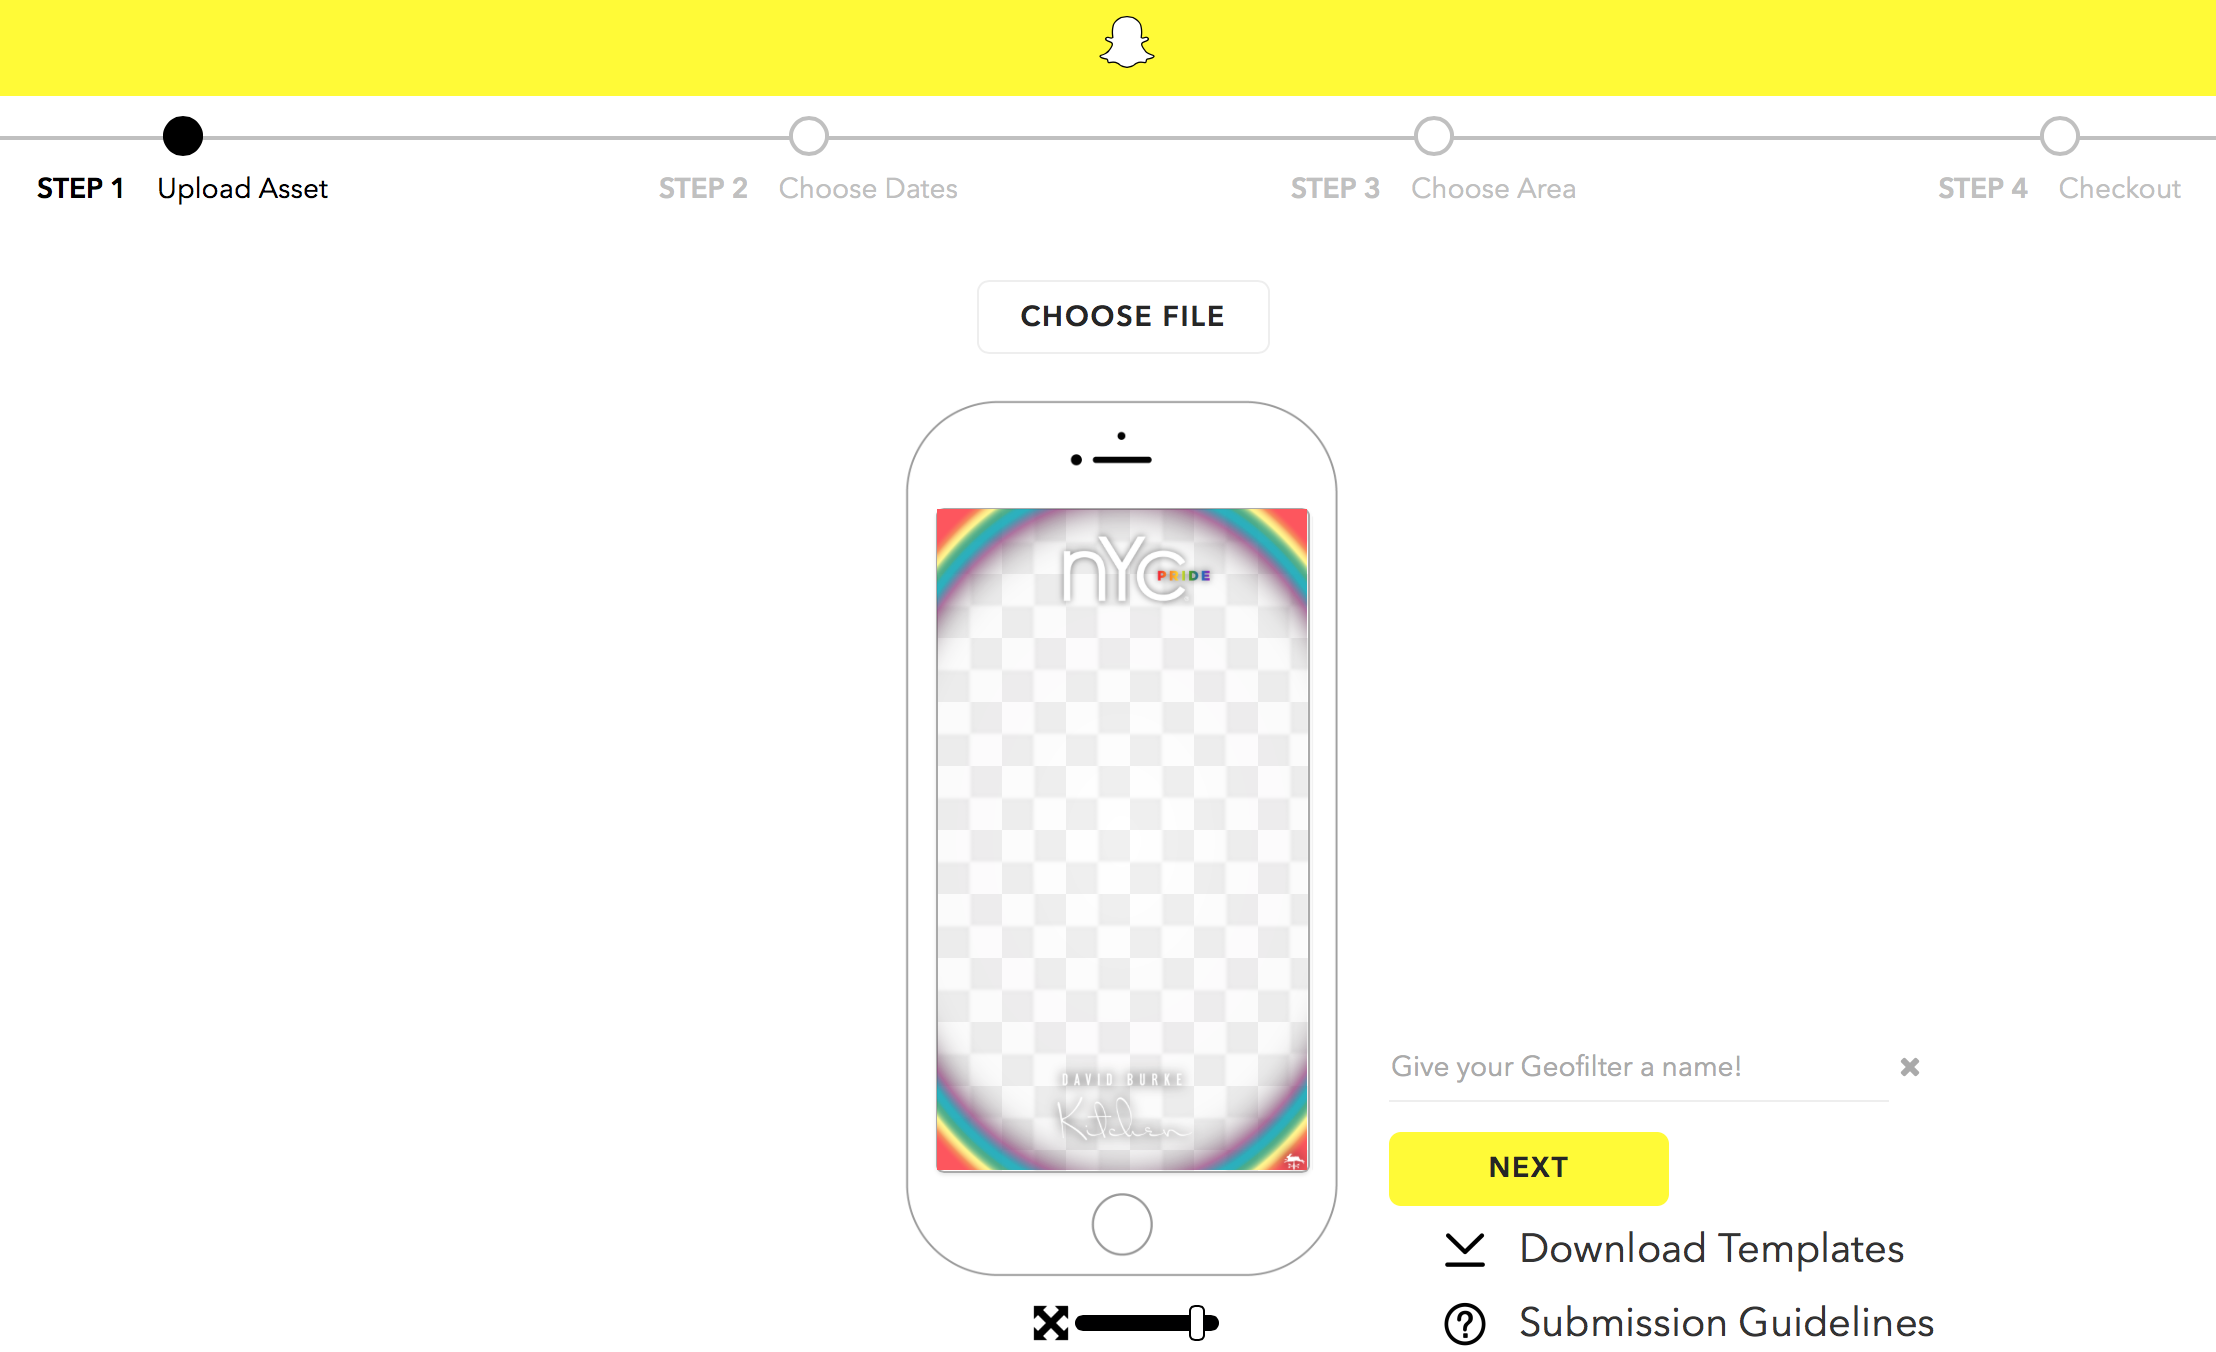
5. Upload your filter.
6. Set a timeframe.
If you are in a different timezone than Eastern Standard Time, make sure you change your times accordingly. I always recommend adding a little padding before and after an event of about 1 hour.

7. Draw a fence.
Next you must draw a fence around the area you want your Geofilter to be seen. Place your address in the map and use the tool to draw a fence around that area. The zone you create is never exact so create a buffer area (at least add in the street) to ensure it will be seen by everyone attending or passing by. The area must be a minimum of 20,000 sq. ft. and allows maximum of 5 million sq. ft.

8. Once these steps are completed, you will now be placed on the checkout screen. Create a name for your Geofilter, I suggest one that will help you remember the event and time of the filter. Double-check that you created your filter for the right date and time and choose whether you are a business or this is for personal.
9. Submit!
After submitting, you will receive multiple emails stating that your filter was (1) received, (2) approved or not approved, (3) charged to your card and (4) live!
10. Snapchat metrics are very much in the early days. Once your Geofilter has run through its time, you will be able to see metrics from your campaign. Snapchat doesn't provide many metrics at this time but you will be able to see your reach, use and spend.
